- SHOTPlus™ Variant:
- Surface
- Version:
- 6.9.1 and above
- KBA Summary:
- This Knowledge Base Article describes the different blast level settings available to SHOTPlus™ users via the Edit Blast Properties dialog.
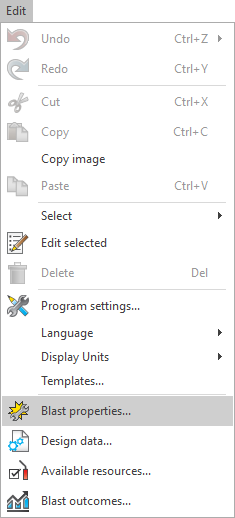
SHOTPlus™ enables users to set blast level properties that are applicable for individual files, or templates via the Edit Blast Properties dialog. To adjust the blast properties for a SHOTPlus™ file or template:
- Select Edit > Blast Properties from the main toolbar.
Settings adjusted via the blast properties dialog are only active for the blast design they have been set for. When creating a new design from a blank template, the blast properties settings will be reset back to the default values. When creating a SHOTPlus™ Template the current Blast Properties configuration is saved as part of the template.
The following options are available from the Edit Blast Properties dialog:
- Blast header information
- BlastIQ™ options
- EBS
- Hole profile logging
- Hole types
- Initiation
- Loading chart options
- Loading options
- Loading rules
- Material types
- Strata definitions
- Summary block
- Surveying
- Volume calculations
Information
Settings vary between SHOTPlus™ Standard and Premier. The information in this article specifically relates to SHOTPlus™ Premier.
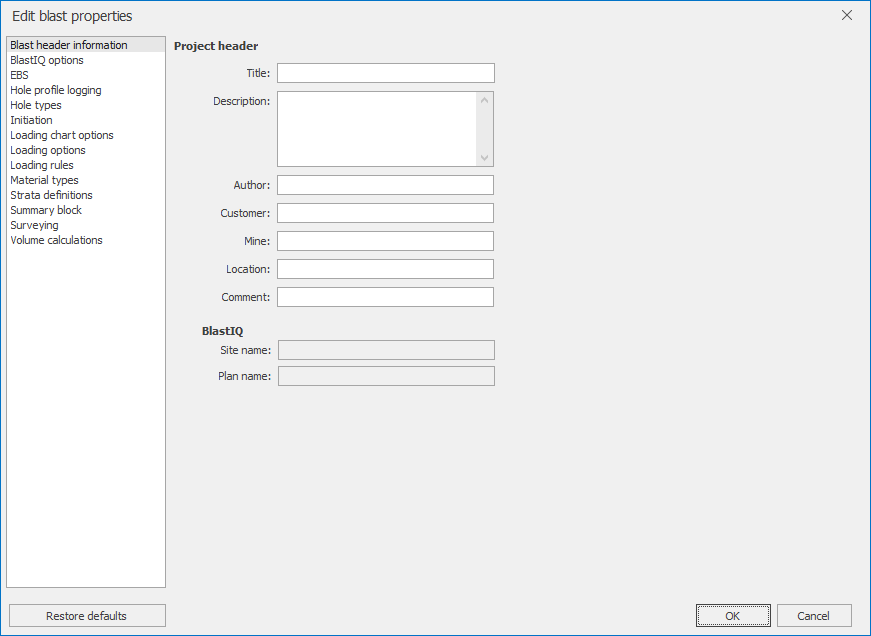
The Blast Header Information page enables users to edit the following information related to to a SHOTPlus™ file:
- Title.
- Description.
- Author.
- Customer.
- Mine.
- Location.
- Comment.
Once saved, these properties will remain set for the specific SHOTPlus™ file or template.
The following can also be viewed, but not edited, from the Blast Header Information page:
- BlastIQ™ Site name (if set).
- BlastIQ™ Plane Name (if set).
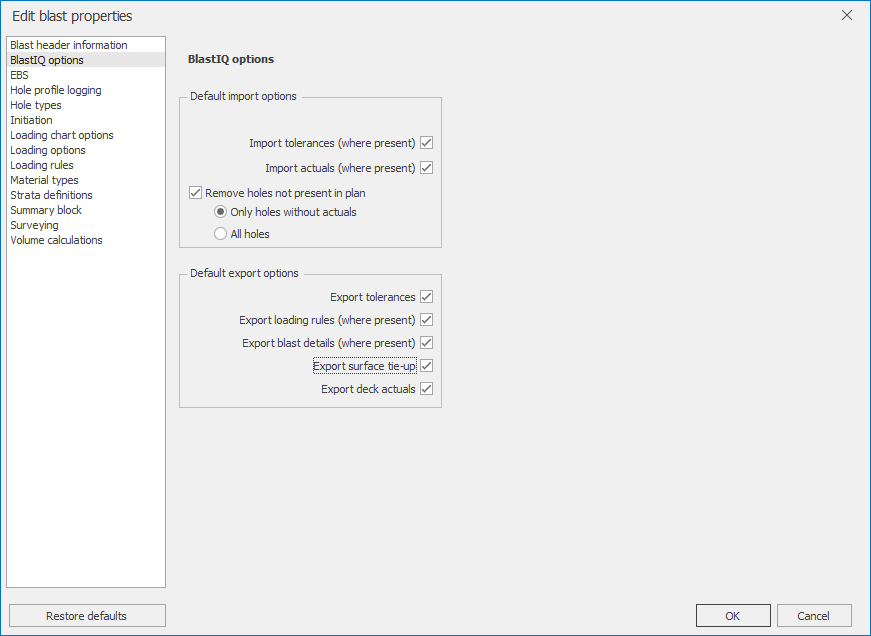
The BlastIQ™ Options page enables users to adjust to default BlastIQ™ Import and Export settings for a file. The following Knowledge Base Article details the different BlastIQ™ Import and Export Settings.
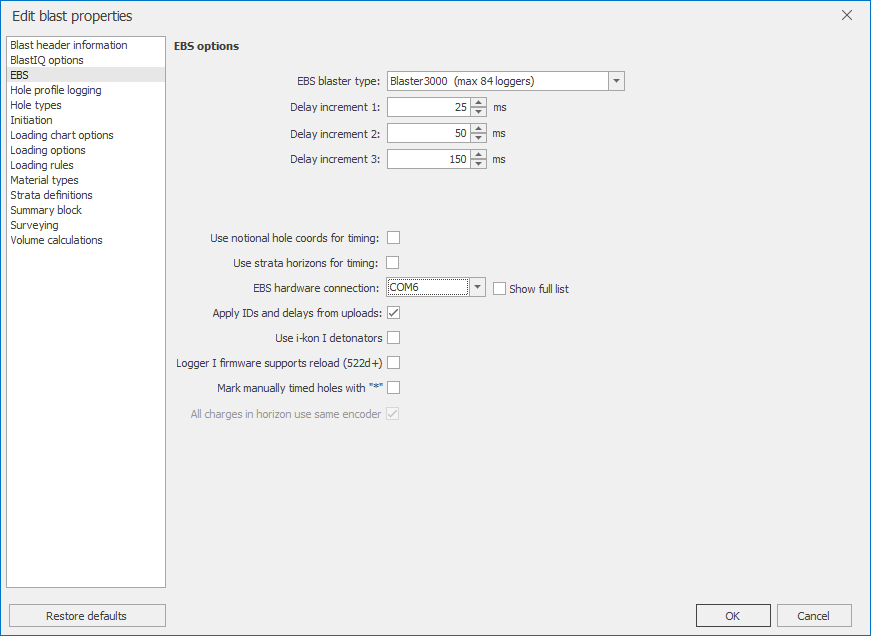
The EBS page enables users to set the EBS Blaster Type for the file, the default delay increments used when timing holes loaded with EBS Detonators, as well as select options of EBS timing offsets, hardware connections and uploads.
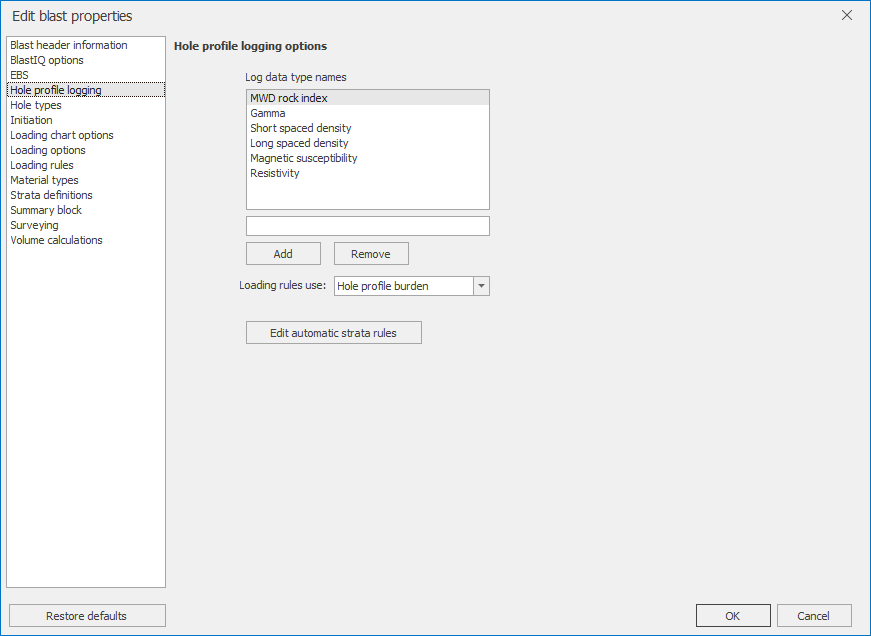
The Hope Profile Logging Page enables users to edit the available profile log data type names, adjust the data type used for automatic strata definition rules and contains a link to define the automatic strata definition rules.
The Hole Types page enables users to define the label applied to each of the 24 available hole types. The labels applied to each hole type will be referenced in charging rules, initiation rules and throughout the BlastIQ™ system in place of the default 'Hole Type X' labels.
Additionally, users can define if re-drill labels will applied to each hole as a prefix e.g. R1A1 or a postfix A1R1.

The Initiation Settings page enables users to activate/deactivate the following options related to initiation designs.
- Automatic tie flip: When this option is active, the direction of the surface ties will be automatically adjusted by SHOTPlus™ to reflect the correct propagation of the burn front.
- Auto-connect echelons: When active, this option will attempt, where possible, to automatically fill the echelons with the delay you selected.
- Colour ties: Toggles the colour and black-only option of the surface ties display. This option helps you to provide a more attractive print on black and white printers.
- Visualize at collar: Shows the explosion animation at the collar only during the visualization process. If this option is not checked the explosion animation will be displayed at the centre of each deck. It is recommended to leave this option checked as otherwise, the blast animation of angled holes could be confusing.
- Display nominal times only: If this option is selected, the system will display firing times using only the nominal delay. The nominal delay of detonators excludes the effects of propagation delay in the signal tube or detonating cord.
- Show first in-hole time only: This option allows you to limit the hole timing displayed at the collar to only show the first detonator time per hole.

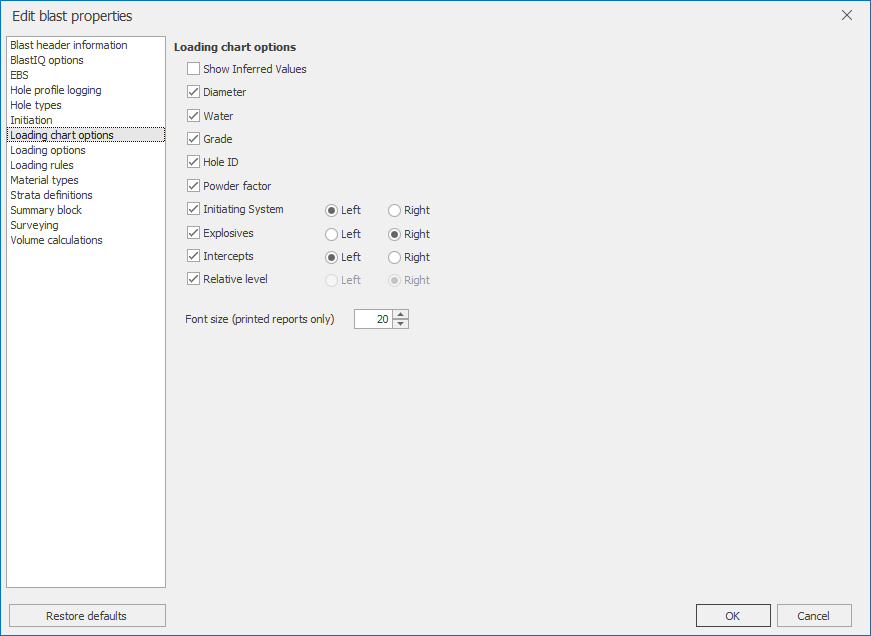
The Loading Chart page enables users to choose which information is displayed on the hole graphic in the loading tool window. and to toggle which side of the graphic some information is displayed.
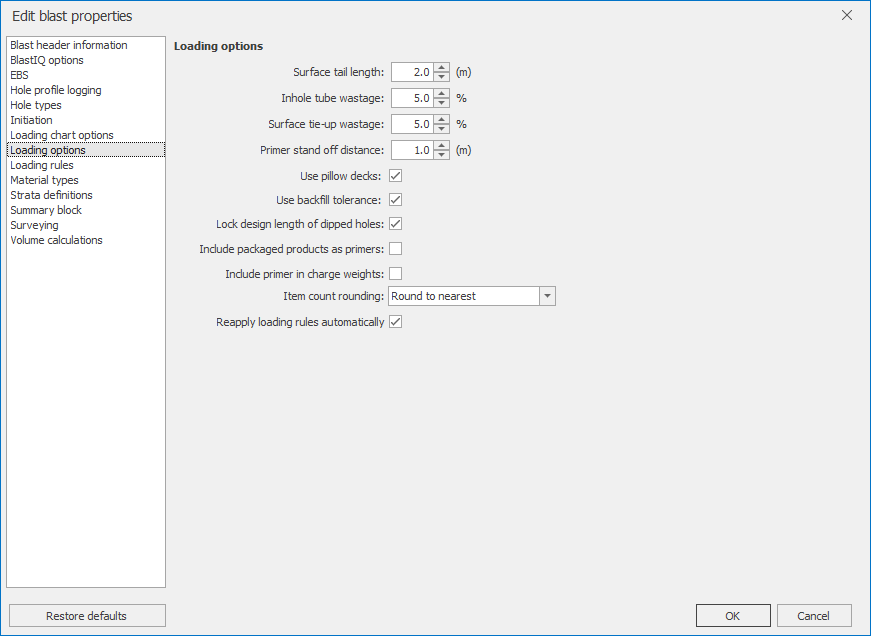
The Loading Options page enables users to adjust the following options:
- Surface tail length: This is the setting for extra length allowed for a surface tie. This extra length is then taken into consideration by SHOTPlus™ when determining the minimum required length product for connecting 2 collars.
- In-hole tube wastage: This is the setting for the extra length allowed for an in-hole tie. This extra length is then taken into consideration by SHOTPlus™ when determining the minimum required length product for using within each blast hole.
- Surface tube wastage: Setting for the extra length in percentages allowed for a surface tie. This is the additional amount added to the calculated quantity of cord products and an extra allowance required when selecting the correct product length of fixed length products.
- Primer standoff distance: This is the setting for the standoff of a primer from either the top of the bottom of an explosive deck.
- Use pillow decks: A pillow deck can be defined to provide extra standoff between the bottom of the hole and the primer position. When reporting charge weights and lengths, decks with similar explosive types are usually merged. A deck labelled as a pillow deck will appear on loading charts, even when the deck above has the same explosive type.
- Use backfill tolerance: The backfill tolerance determines a minimum deviation between actual and design hole depths for which backfill will be added. With a backfill tolerance of one meter, the actual depth of a hole must be more than one meter longer than its design length before a backfill deck is added. The use of backfill tolerance turns this feature on.
- Lock design length of dipped holes: Will lock the original design length for holes that have an actual length entered.
- Include packaged products as primers: Includes packaged products in the primer resource list.
- Include primer in charge weights: Adds the weight of a primer to total column weight.
The Loading Rules page enables users to adjust the following options:
- Back fill material: The program has stemming pre-defined as the backfill material
- Alternative back fill: These program settings allow you to set an alternative backfill material.
- Use alternative in segments A-B, C-D, E-F: This option is used in coal mines, and it conventionally assumes that coal is between A and B, C and D, E and F, and that the alternative stemming is to be used. Having this option ticked and two different types of backfill and alternative backfill selected allows the system to calculate volumes for each.
- Dry loading buffer: The dry loading buffer above wet sides defines up to what level wet hole products need to be used and from what level above water dry hole products are to be used.
- Merge dry loading above buffer: The merge dry loading above buffer option, if ticked allows the merging of the wet loading and dry loading above a certain distance above the water. Use the up and down arrows to define the dry loading buffer level above water.
- Deck horizon tolerance: Defines the default deck horizon tolerance for loading rules created in the file. Can be adjusted per deck when creating loading rules.
- Deck weight tolerance: Defines the default deck weight tolerance for loading rules created in the file. Can be adjuster per deck when creating loading rules.
- Merge like decks: If ticked SHOTPlus™ will merge two decks of identical explosive products when loaded together in a hole as result of loading rules.
- Use graphical charging rules: If ticked Graphical Charging Rules are turned on for the file. This Knowledge Base Article details Graphical Charging Rules.
- Minimum deck length wet side loading: Set the minimum deck length for wet sides loading, where a wet side alternative product is specified in a dry loading rule.
- Minimum deck length for all rules: Set the minimum deck length for all loading rules, where conditions may cause alternative explosive decks.

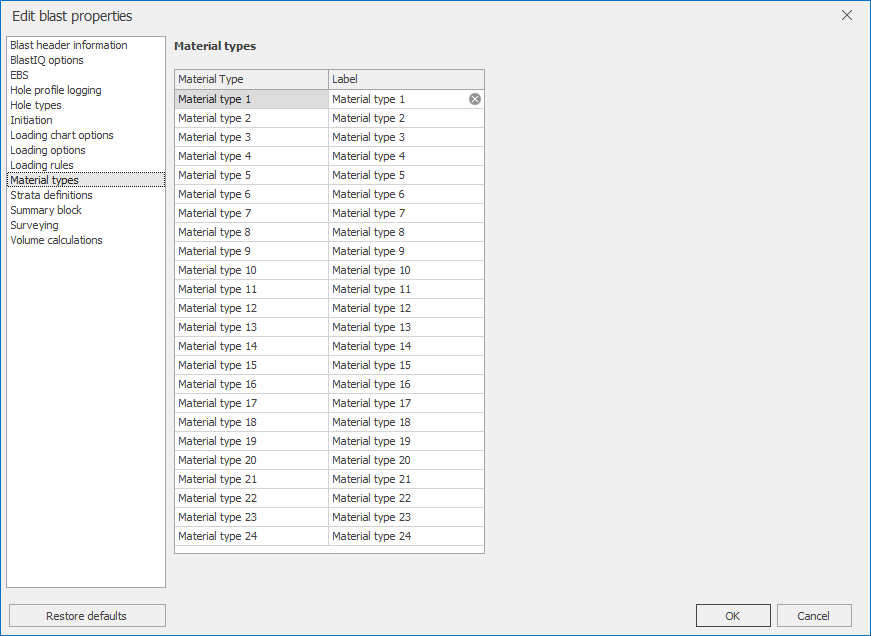
The Material Types page enables users to define the label applied to each of the 24 available material types. The labels applied to each material type will be referenced in charging rules, initiation rules and throughout the BlastIQ™ system in place of the default 'Material Type X' labels.
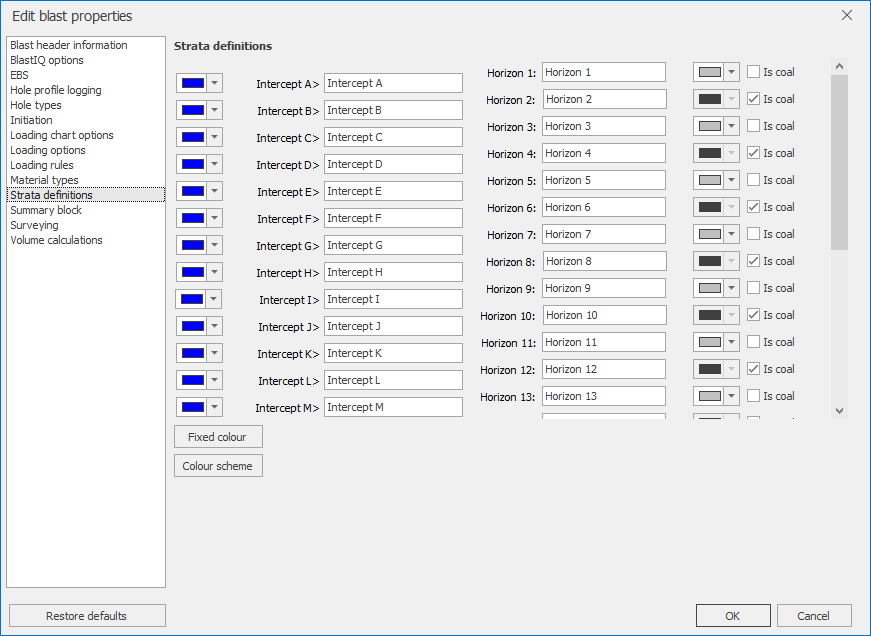
The Strata Definition page enables users to define labels and colours for each of the 12 available Intercepts and 13 available Horizons (an extension key for 24 Intercepts/25 horizons is available).
By default Intercepts are labelled rom A to L, and the Horizons are labelled from 1 to 13.
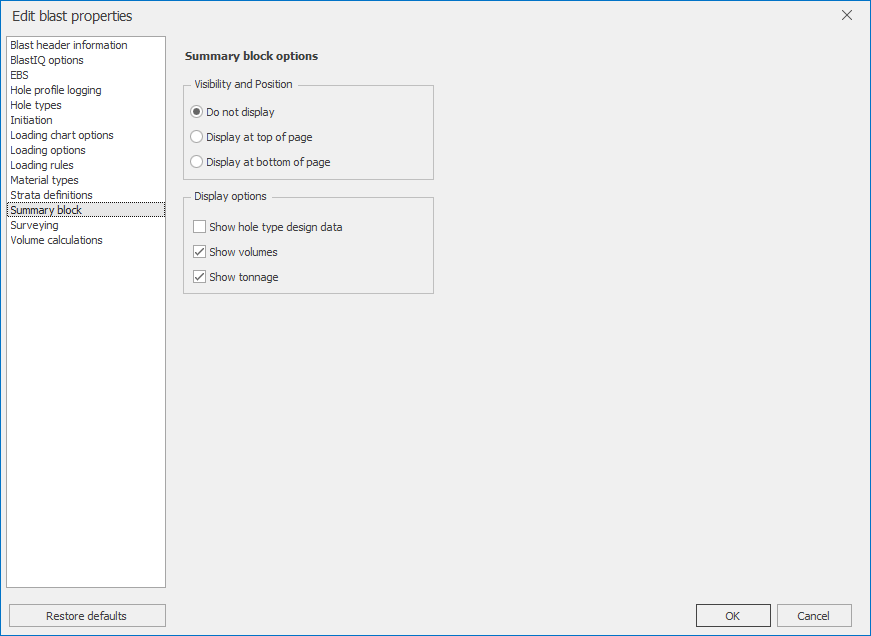
The Summary Block page enables users to the information shown in the summary block, select where the summary block is positioned on the page when it is displayed.
The Surveying page enables users to adjust the parameter values used by the SHOTPlus™ Profile Wizard and the Mark Out Wizard.
- Move delta: This defines the step sizes by which the position of holes is changed when using surveying tools, either in small step sizes or in larger step sizes.
- Angle delta: This defines the step sizes by which the angle of holes is changed when using surveying tools, either by a small step or a large step.
- Bearing delta: This defines the step size by which the direction of the hole is moved in degrees.
- Step downhole: This defines the step sizes down the hole.
- Search multiplier: When looking at the shape of the bench in front of the hole, face points are used to define the surface that is in front of the hole. To know what is in front of the hole, the search radius is used. The search multiplier is an internal setting that defines how many burdens are included in the search radius when trying to identify if there is a face point in front of the hole or not.
- Perimeter overbreak: This defines the expected proportion of overbreak
- Default collar RL: This value represents the default Z-value for the Profile and Mark out wizards.
- Target heights 1, 2 and 3: These define the values for the laser survey tool stick sizes.

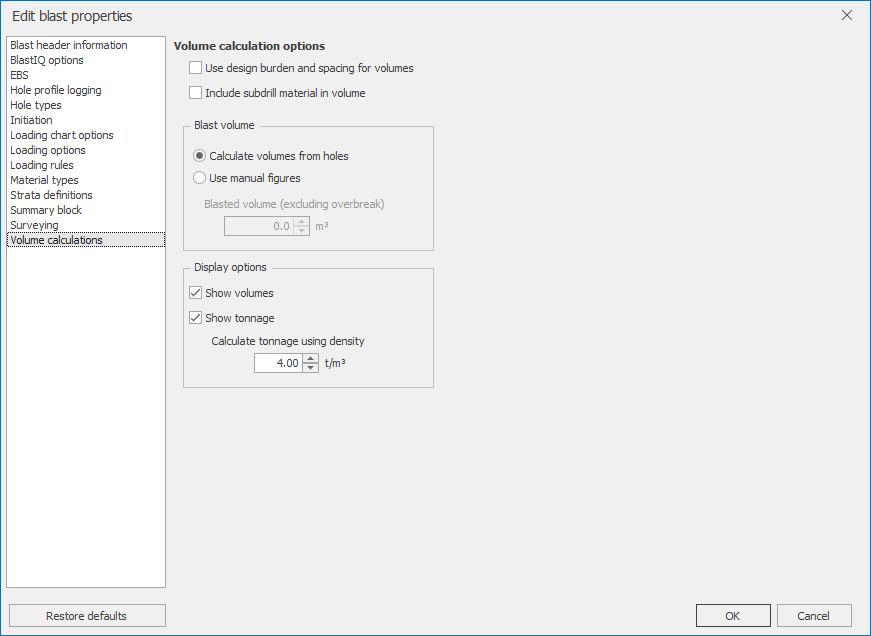
The Volume Calculations page enables users to adjust volume settings for SHOTPlus™.
- There are two options to calculate volumes in SHOTPlus™:
- Option 1 is for the calculated blast hole volumes to include design burden and spacing only,
- Option 2 is for the inclusion of sub-drill in the blasted volume.